Fix DLP Dots – Replace DLP Chip Yourself

Do you have a white or black dot appearing on your DLP TV. Well the bad news is that means a hundred more will appear within a few weeks. What are these dots and how do you fix it? Well these dots appear because of a failing DLP chip. Your tv is probably a few years old with this starts to happen. You fix it by calling your TV manufacture and request they send you a new chip (and you volunteer to replace the chip yourself). That is what I did with my Mitsubishi WD7373. At first they wanted me to pay for a certified installer to put the chip in, but I had the ticket elevated and the ended up shipping the chip directly to me via ups.
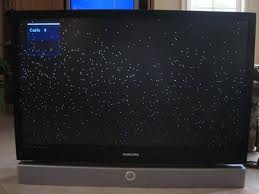
dlp dots appearing on someones dlp tv

Exchanging the chip is quite simple. Especially if you know how to change the processor in your computer. It is simply a chip that is seated in a special socket with a locking mechanism. It also has a heat sink just like a computer processor. I will go over each step in this article.

First you need to wipe away all dust on the outside of your TV. Then unplug the TV. Then you need to scoot your TV/Stand out so you have full access to the rear of the TV. You will need to unscrew all of the screws holding the bottom back peice of the TV on. This is called the service plate. Its basically the whole bottom rear part of your TV enclosure.
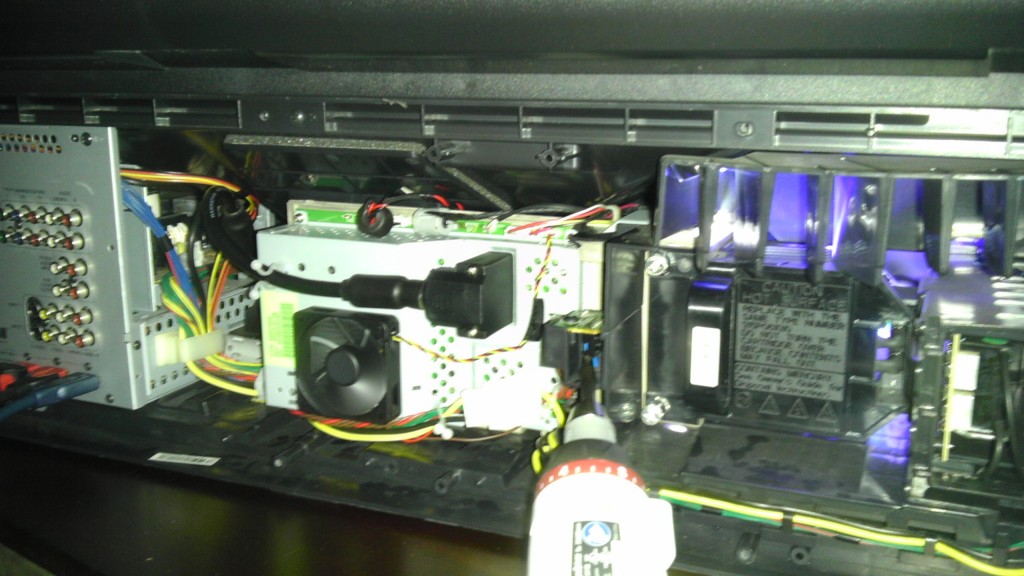
after removing service bracket

Now that you have removed the service bracker we need to uplug all of the wires going into the mainboard. Once completed, remove the hearsink. Now you will be looking at the mainboard that is held in place by a few screws. Some of the older TV’s have this board specially fitted so that the dlp chip is perfectly lined up with the light engine so the image on the screen fits the TV. If your tv is like this, use masking tape and a marker on each side of the mainboard to be able to align it back after you removed and exchanged the chip. I found that my mainboard had slots that it had to line up with in order to be seated properly so alignment was not an issue.

Now it is time to unscrew and remove the mainboard….but be careful. There is a small ribbon cord that you need to remove carefully so that it doesnt break. After removing the board this is what you are left with:
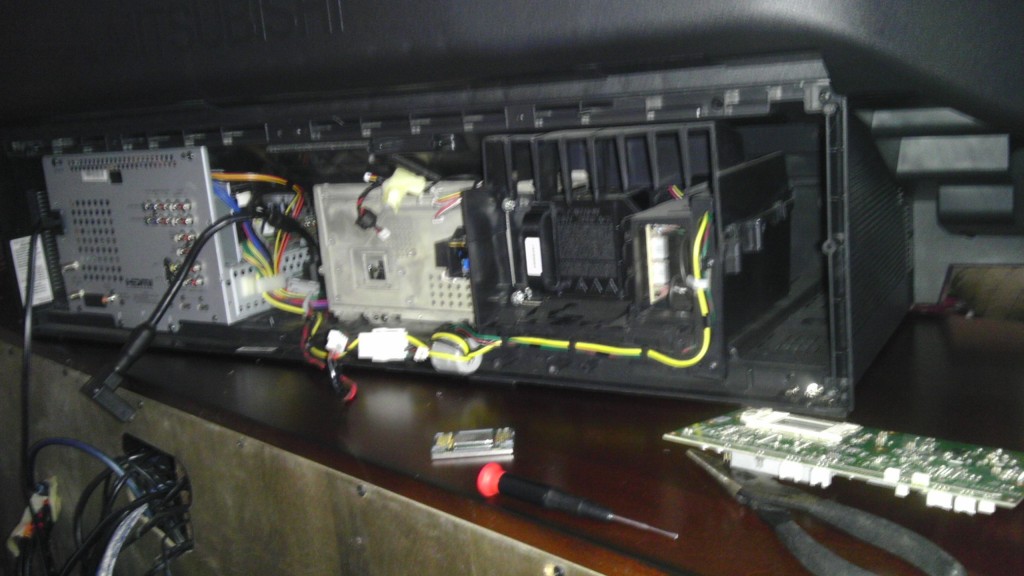
Once you have the board out flip it over. You will see the socket that you dlp chip is locked in. Simply turn the locking mechanism and remove the chip. Then place the new chip in …. only one way possible (make sure it is seated properly). Then lock it in. If you are certain it is seated and locked in properly go ahead and put the board back in. Make sure to insert the ribbon cable back where you found it in the board.

Next step is to plug all the wires back in (don’t put heatsink back on yet). We want to power up the tv and make sure there are no vertical lines on the screen that would indicate the chip is not seated properly. If you see the vertical lines then remove the mainboard and reseat the dlp chip. Repear these steps until the chip is seated properly. It took me two trys. Never run your tv longer than 10 minutes without the heatsink on the dlp chip.

a look at the mainboard durring testing

Once you are happy with the image on the screen, it is time to replace the heat sink (use cpu termal grease if you have some…i used artic silver #5….this should help the chip run cooler and last longer) and all the cableing back the way you found it. Now screw back in the service bracket on the back and viola! your done!
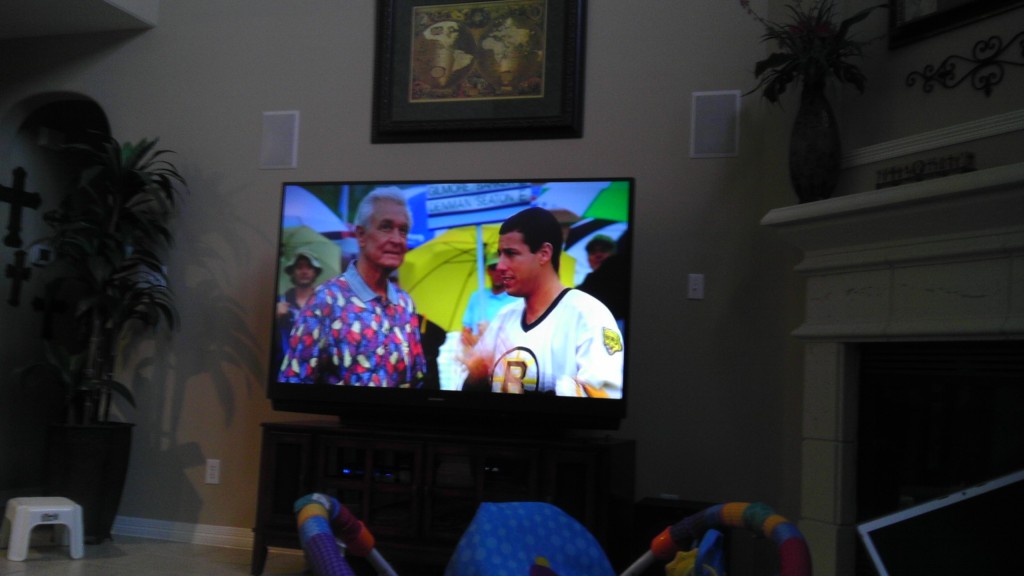
good as new after dlp chip change

The chip I was sent was generations newer than the one that originally came with my tv and broke. I am hoping the new chip will last longer than the 4 years that my first chip lasted.
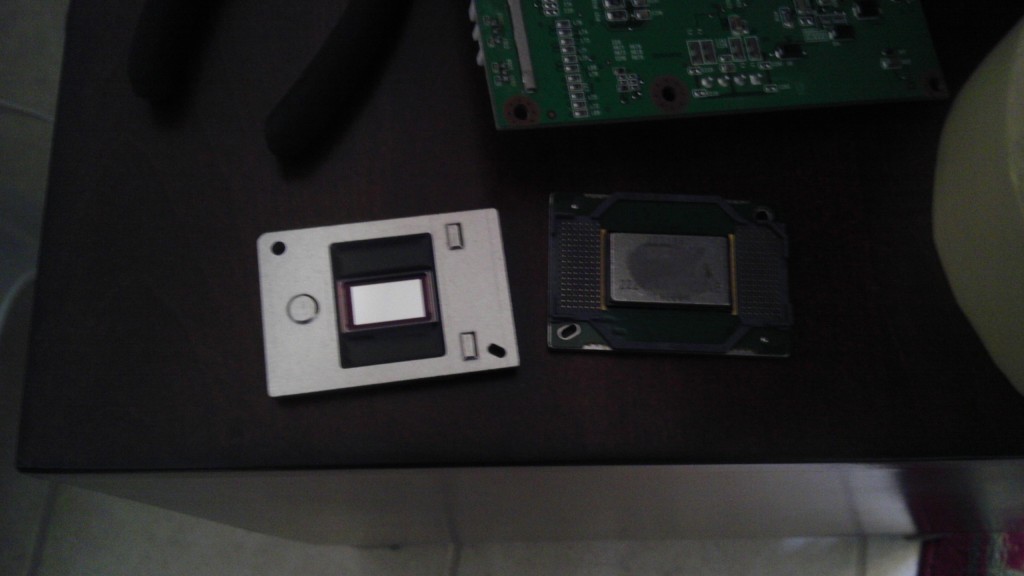
dlp chips front and back
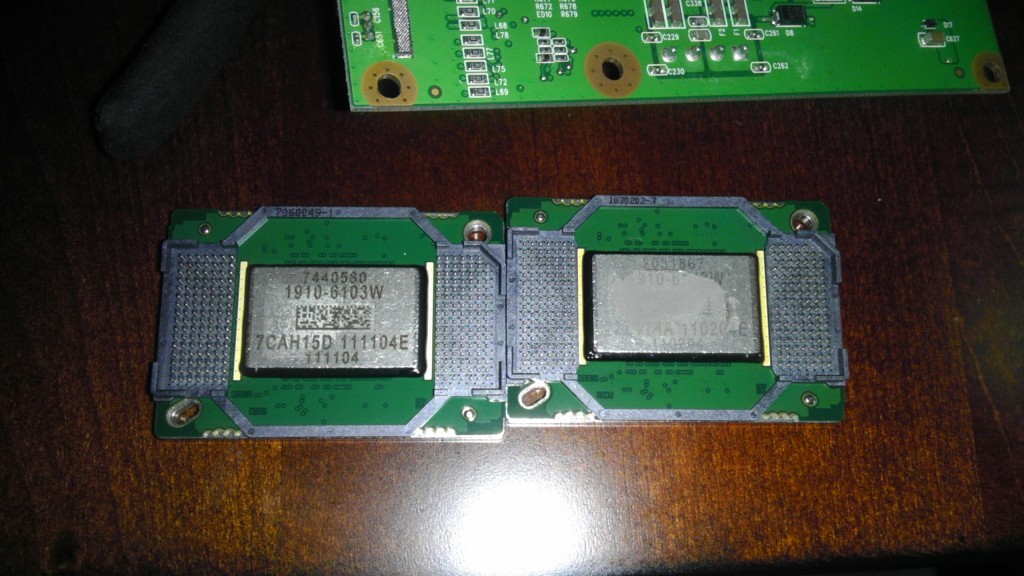

new chip model left vs old chip right

13 Responses to “Fix DLP Dots – Replace DLP Chip Yourself”

  1. Dana Says:

    Is it that simple to change the dlp chip?  REALLY?  What can I screww up if I try myse

  2. Joe Says:

    This did help quite a bit! Thank you! 

    I went searching for a DLP chip for myself and found this helpful video to fill in the gaps too: 
    http://www.youtube.com/watch?v=K7Jex2iJKvM

  3. Ed Says:

    I just replaced my DLP chip with no problems. I purchased from Amazon for $153. The above instructions were great.  Might want to make a simple wiring diagram to show where the wires / connections came off (for those who don’t do this very often). Make sure you unplug the TV before attempting to take anything apart.  I was able to not need to remove the ribbon wire.  I gently pulled out a small portion of the wire to access the DLP chip.  I use a small jewlers flat blade to release and resecure the DLP chip to the board. You’ll need to make sure it’s properly seated before putting everything back together. It’s nice to fix something without having to take it to the “stealer” (dealer)!!!!! 

  4. Ed Says:

    I just replaced my DLP chip with no problems. I purchased from Amazon for $153. The above instructions were great.  Might want to make a simple wiring diagram to show where the wires / connections came off (for those who don’t do this very often). Make sure you unplug the TV before attempting to take anything apart.  I was able to not need to remove the ribbon wire.  I gently pulled out a small portion of the wire to access the DLP chip.  I use a small jewlers flat blade to release and resecure the DLP chip to the board. You’ll need to make sure it’s properly seated before putting everything back together. It’s nice to fix something without having to take it to the “stealer” (dealer)!!!!! 

  5. Jcjohns Says:

    it didnt work no picture

  6. Laurie Says:

    Thanks for the great instructions.  I replaced the DLP chip in our TV tonight and it worked out great.  Having never opened up one of these before, I didn’t know what to expect.  But, it was similar to repairing any computer, so it wasn’t bad at all.

  7. Allen Low Says:

    Hey how did you get them to ship it to you they have told me they won’t ship it directly to woner

  8. Christopher Charles Basoco Says:

    Here is some supplemental information that may be of use based on my experience replacing the DMD.

    Service Manual Link: http://www.audiolabga.com/pdf/V36-V37-V38_Service_Manual.pdf

    The Service Manual has details regarding troubleshooting LED codes and screen calibration at a deeper level than what is in the Owner Manual.

    Also, in the above instructions, the author instructs to test before reassembly. It may be necessary to put the the service plate back into position to allow the TV to power up (Lamp error LED flashes).

    Lastly, some items I found useful during the repair were tape, needle nose pliers and a spotlight.

    Good luck with your repair!

  9. Chris Says:

    I contacted Mitsubishi and they offered to send the chip to a certified service center in my area for the $200 labor fee. I then called the service tech directly and told them I wanted to do the work myself if they would receive the chip at no cost or liability to them. They agreed and put in the service request and only charging me $25 for the time it takes them to do this for me. Try calling your local service center and see if they will do that for you also.

  10. Jrfranks84 Says:

    Same here they won’t send to me jrfranks84@yahoo.com

  11. Dennis Says:

    I’m seeing a bunch of different looking dlp chips for various models. How do I find the right one for my model #? I there a link or site to put in my serial # or model #?

  12. Ronnie Says:

    I installed the Sam DLP chip on my Samsung 67. It has a lot of thick white and grey vertical lines. I even tried putting in the chip twice to reseat it and the lines are still there. The chip feels snug I’m confused to what’s going on?!

  13. Ben Says:

    You have a bad DMD board as well.

Leave a Reply

You must be logged in to post a comment.